This post if for Monika and anyone else interested in the whole rug hooking how to’s. Its a very simple concept really and I will try to portray it in pictures. Keep in mind these pictures were taken by me with the timer on so if I didn’t get a good enough shot and you aren’t understanding it all please let me know and I’ll try my best to capture it all again.
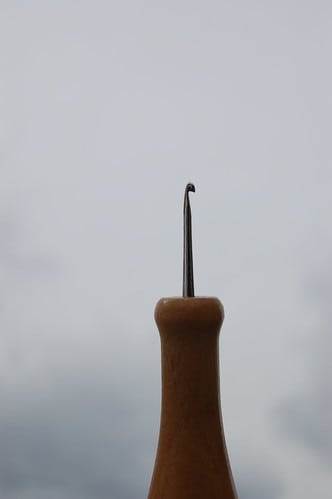
First off we have the hook

Traditionally a nail was inserted into a piece of wood, then filed into a hook shape. Then a crochet hook inserted into wood. The ones used today are very similar to crochet hooks but come in many different thicknesses, the hook and the holder. Some holders are wider at the ends while some are very thin all the way through much like a pencil.
Next you need the strips

Some people use one wool yarn for their pieces while others prefer the wool strips. Wool strips is the more traditional method, in the olden days they used rags and whatever bits of material they had, cut them into strips and hooked. Today there is a fabulous machine the cuts the strips perfectly all the same size for you so you do not have to cut them by hand. The wool fabric itself can be purchased from a fabric or specialty shop or you could also go to a second hand store. There are always tons of old blazers, shirts, pants and blankets that you can cut up and dye if need be that only cost a dollar or two.
Now that you have the two main components all you need in a piece of burlap and your off to the races. Some people prefer to design their own mat, usually drawn on the burlap with a sharpie. Others buy pre stamped or pre drawn mats ready to be hooked. This is were my pictures become…. not so great.

You always start from the underside of your burlap. Put your hook through the front of your burlap and pick up one end of your strip and pull straight through to the front again. Pretty straight forward huh??? So you will have a little tail hanging around on the top of your piece. It will stay a tail until you have enough rows packed in around it so that its secured tightly. Then you can snip off the top. The picture above shows me holding the strip with one hand, the other is used to push the hook through the front of the burlap, catch the strip and pull it up through to the front. Its a little fiddley at first, you need to make sure your strip lays flat the whole time and doesn’t get twisted in the back.

So here is the loop being pulled up through the front. It is also important to try and make sure your loops are the same height all along. At first this was, and still is sometimes, annoying. When you pull the loop up, you also need to pull the loop back towards the loops you have already made. If you pull the other way, it will pull your previous loops out and is annoying as old heck!! When I watch the ladies at hooking do this it takes them less than a second. The hook goes in and out in and out. Me….. well it takes me long, I don’t have my height etc down pat yet so I have to really focus on making them all match. In time though it will come i’m sure. So that is basically it.

You repeat the last step until you get to the end of the strip, then pull your end tail up to the front like you did at the beginning and wait until it is packed in before cutting the top off it. Then you begin all over again. A simple task creates a beautiful rug!!
Hopefully that helped you Monika, and anyone else. Feel free to ask any other questions you might have. If I don’t know the answer I can surely find out!
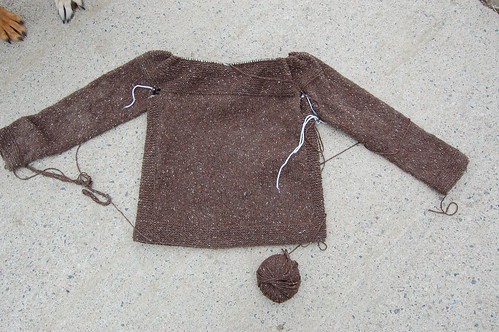
I’ll leave you with a picture of my progress on Cobblestone…..enjoy!

